Instructions
Please Read Disclaimer
Parts Needed:
 | 4 - 1911 grip bushings |
| 4 - 1911 grip screws |
| 1 - Hogue 1911 Officer Model Grips |
|
Tools Used:
| Drill with size ___ and ___ bits |
| Dremel with fine sandpaper, orange cone grinder, orange
round grinder bits, and small polishing discs with polishing
compound |
| Waterproof Sandpaper in 220, 320 and 400 grit |
| JB Weld |
| Screwdriver |
| Flat File |
|
Go SLOW!!! The longer it takes the better it will
come out.
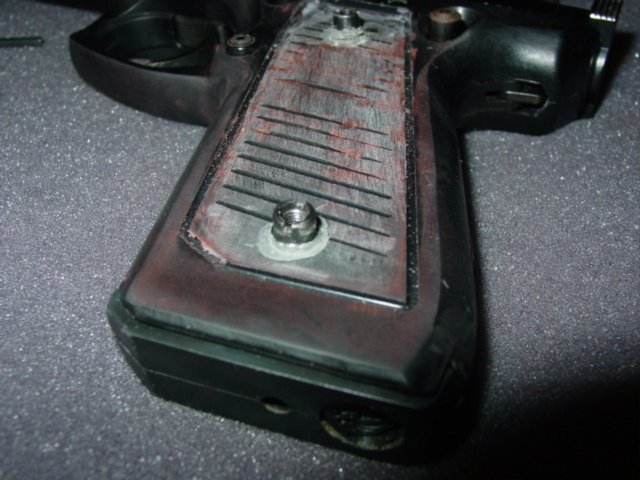
1. Start by grinding the grip inside the red
lines, to level it off with the frame.
2. Once you are close to the level of the frame use the
file to level off the grip to the frame (red lines).
Notice the trench is still there, it will be covered by the new grip.
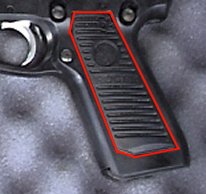
3. Now take the new grip and sand off the corners as
needed to fit flat against the frame. (red lines
mark original shape of the grip)
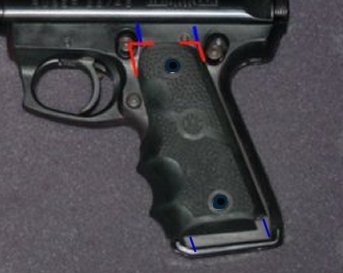
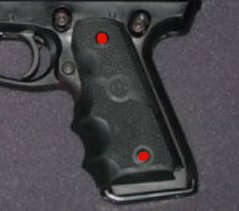
4. Position the grip where it should
be and mark on the frame where the holes in the grips are (red
dots).
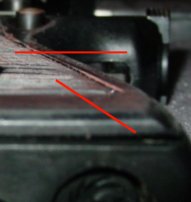
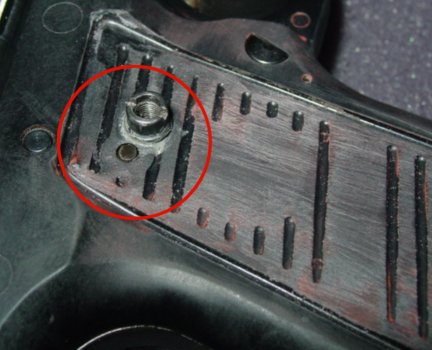
5.
Drill the holes 90 degrees to the frame. Make sure though that the top
hole does not cut into the sear pin hole.
6.
Screw in the bushings until they are flat against the grip. Do not
tighten them.
7. Mix up a small batch of JB Weld.
Unscrew a bushing, apply JB Weld to the threads and screw it back into the
frame, repeat with the other 3 bushings. Let them set for 24 hours.
8.
Because some JB Weld is around the bushing, the holes on the inside of the
grips will need to be flared out to accommodate.
9. Install
the grips on the frame. Do not over tighten the screws, keep them
snug.
10. Remove the grips and use the sandpaper to
smooth down all the deep scratches. You may find you want to grind
some on the trigger guard for a better fit.
11. Buff/polish
the frame to remove the haze from the sandpaper.


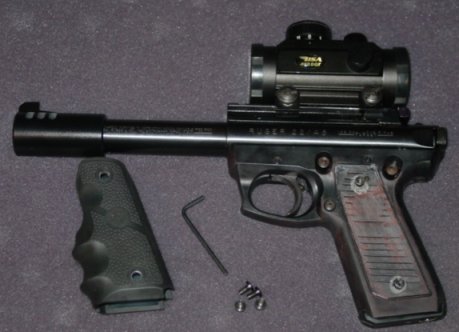 I
got tired of my Pachmyr rubber wraparound grip because it had to be
removed when I wanted to field strip the gun.
I
got tired of my Pachmyr rubber wraparound grip because it had to be
removed when I wanted to field strip the gun.