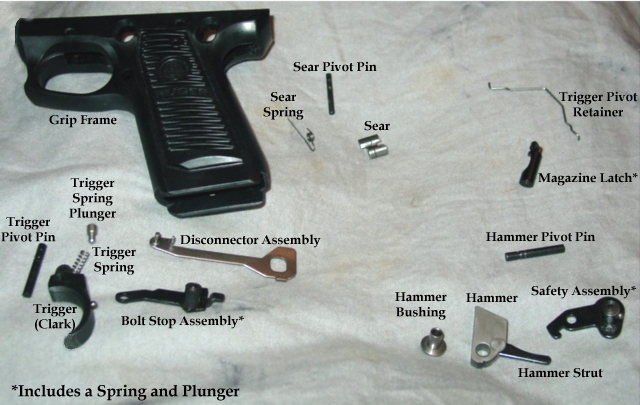
Assembly of Hammer and Safety
1. Locate the sear spring on the left side of the grip.
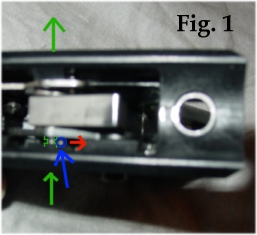
2. With the indent on the pivot pin out (red
arrow), start
inserting the pivot pin (green arrow) into the left side of the
grip. Make sure the long end of the sear spring is to the right of the pin (blue
X). Leave just enough pin exposed (outline
in green) from the grip so that the
spring will not be released.
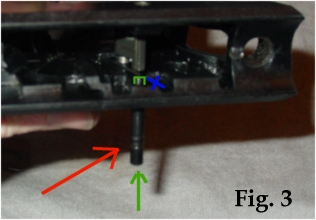
3. Rotate the sear so the top points forward (red
arrow). It needs to be held forward until the safety is
in. Install the safety assembly by placing the safety button into
the hole in the grip. Rotate the safety until the hole lines up with
the pin. Move the pivot pin in until it
is flush with the safety. Carefully (it can fall off) switch the safety to Fire and
release the sear.
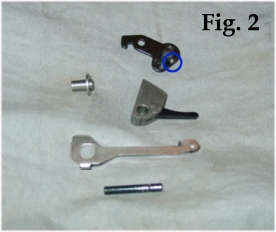
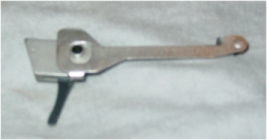
4. Assemble the Hammer, Hammer Bushing, and Disconnector
as shown below.
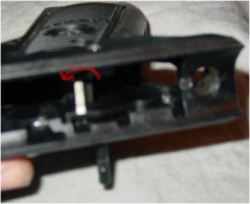
5. Align the hammer so that the hole is over the pivot
pin.
6. Push the pin until a "Click" is heard or you
see the sear spring resting in the notch on the pivot pin.
7. Now that tension is on the sear spring, move the sear pivot
pin slightly from side to side to ensure the spring is retaining the sear
pivot pin as well.
8. Install Trigger. (Instructions)
9. Assemble gun as normal.